
One question comes up in almost every enquiry: which printing method should we use? Both build a part layer by layer, but the results are very different. The short answer: FDM for strong and larger parts, SLA for fine detail and a smooth surface.
Strong, functional and larger parts at a lower price.
Very fine detail and a smooth surface without extra finishing.
How FDM works
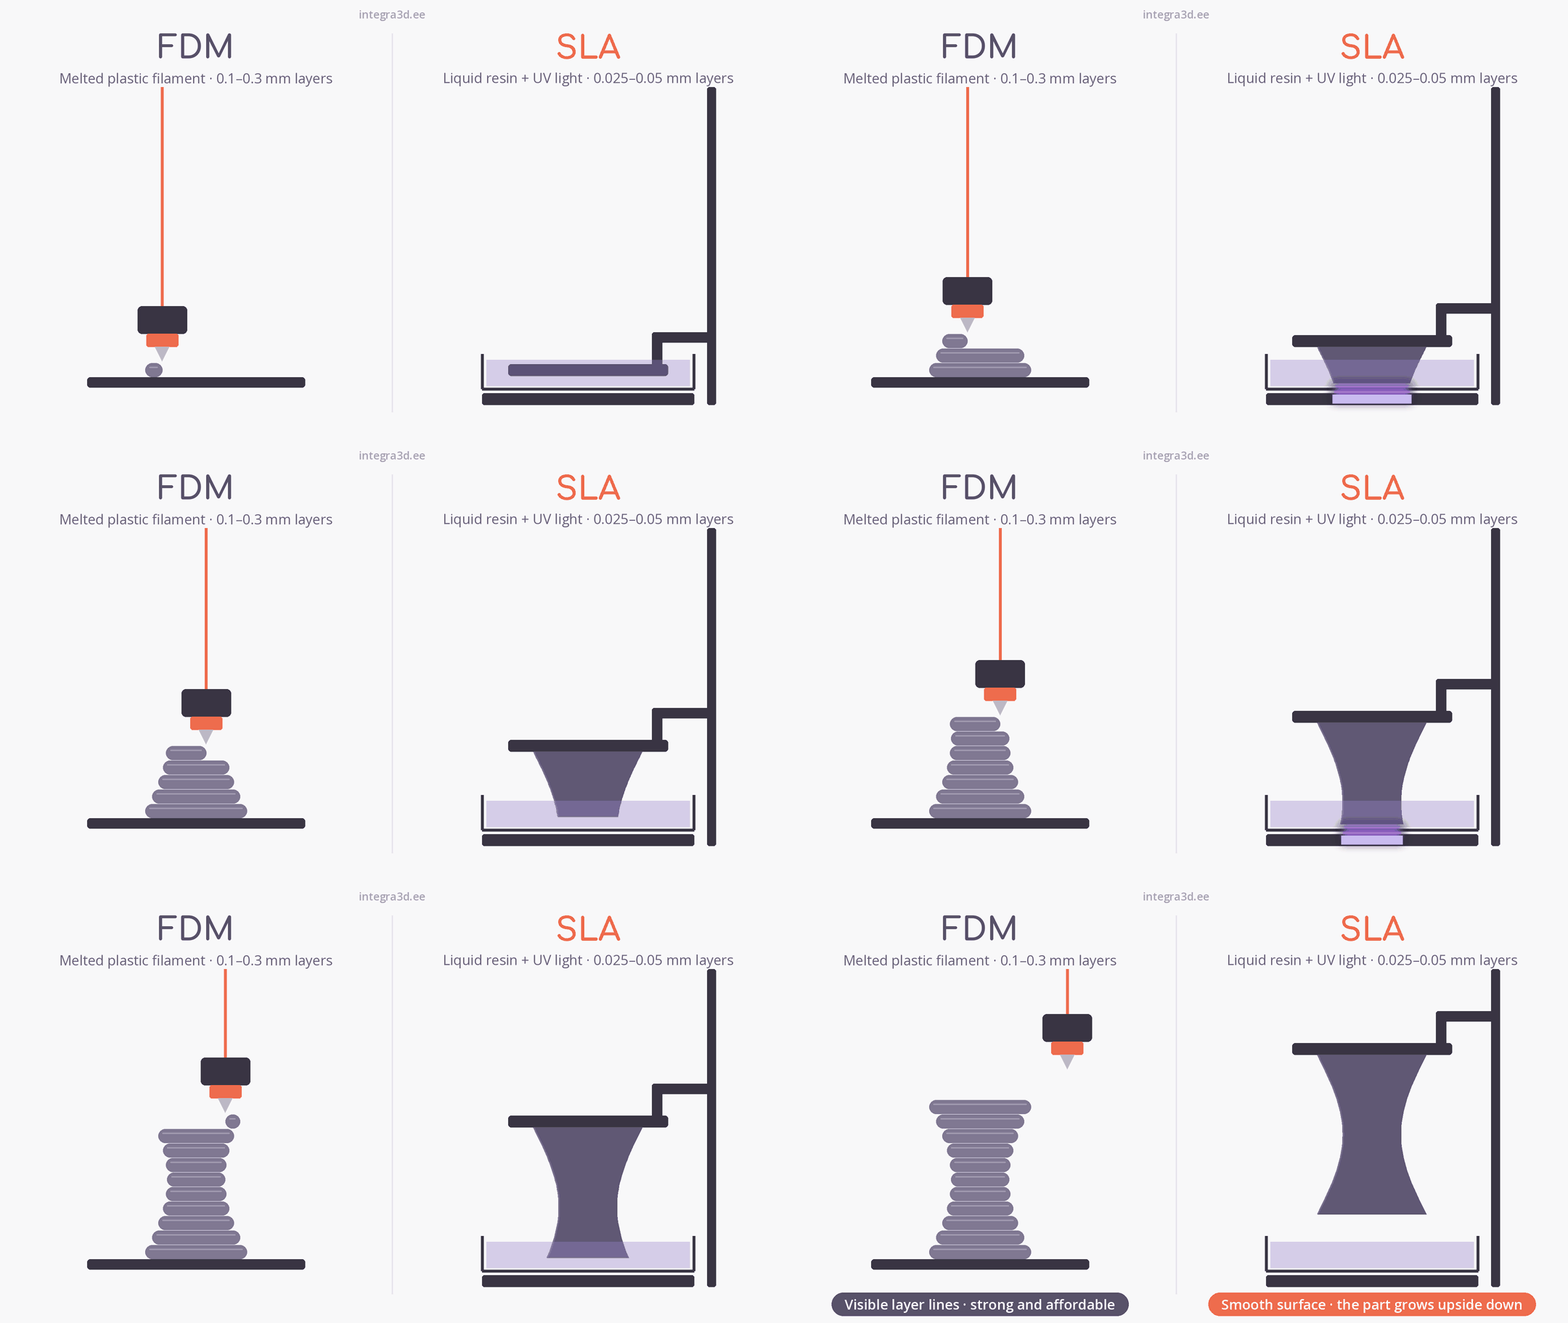
An FDM printer melts plastic filament in a hot nozzle and lays it down layer by layer. Layers are usually 0.1–0.3 mm thick, so fine layer lines stay visible on the surface.
The biggest advantage of FDM is the choice of materials. PLA is fine for samples and models, PETG and ASA for functional and outdoor parts, TPU for flexible parts.
Our Bambu Lab printers can also print in several colours, and the dual-nozzle X2D can combine two different materials in one part.
How SLA works
An SLA printer cures liquid resin with UV light. Our Anycubic Photon Mono X 6Ks uses an LCD screen that exposes a whole layer at once (also called MSLA).
Layers are only 0.025–0.05 mm, so layer lines are almost invisible.
After printing, the part is washed and post-cured under UV light. Only then is it ready to use.
FDM vs SLA compared
| FDM (filament) | SLA (resin) | |
|---|---|---|
| Detail | Good | Very good |
| Surface | Visible layer lines | Smooth |
| Strength | Good, choose the material for the load | More brittle, not for heavily loaded parts |
| Part size | Larger parts | Mostly small parts |
| Materials | Wide range: PLA, PETG, ASA, TPU and more | Resins |
| Price | Lower | Higher |
| Post-processing | Support removal | Washing, post-curing, support removal |
When to choose which
Choose FDM if…
- the part must handle load, heat or weather
- the part is bigger than the palm of your hand
- you need a fast, affordable prototype
- you need a housing, bracket, jig or spare part
Choose SLA if…
- the part has fine features, text or very small holes
- the surface must be smooth without extra finishing
- the part is small: a figure, a jewellery model, a small housing, a mould master
- appearance matters more than mechanical strength
Examples from our work
Spare parts for a classic Mercedes-Benz
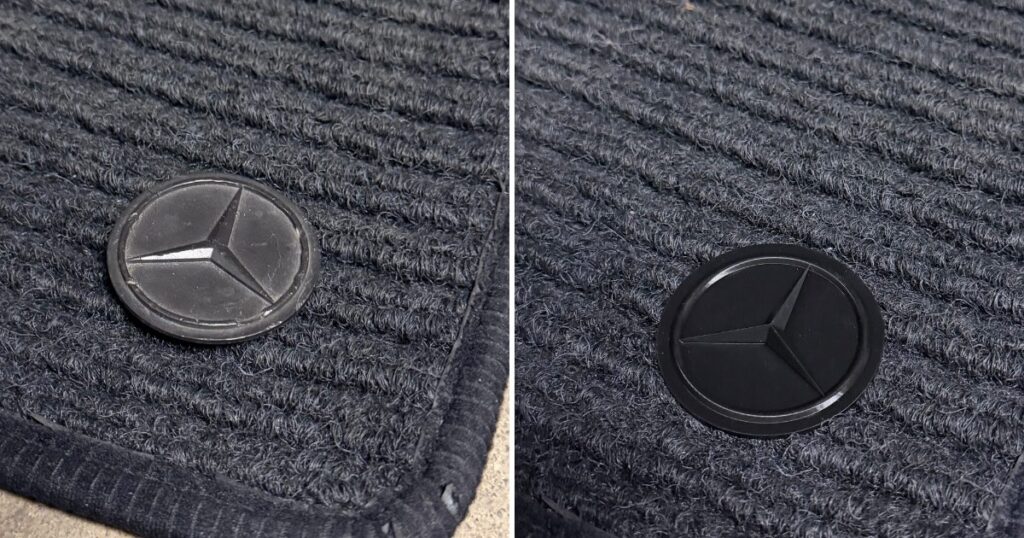
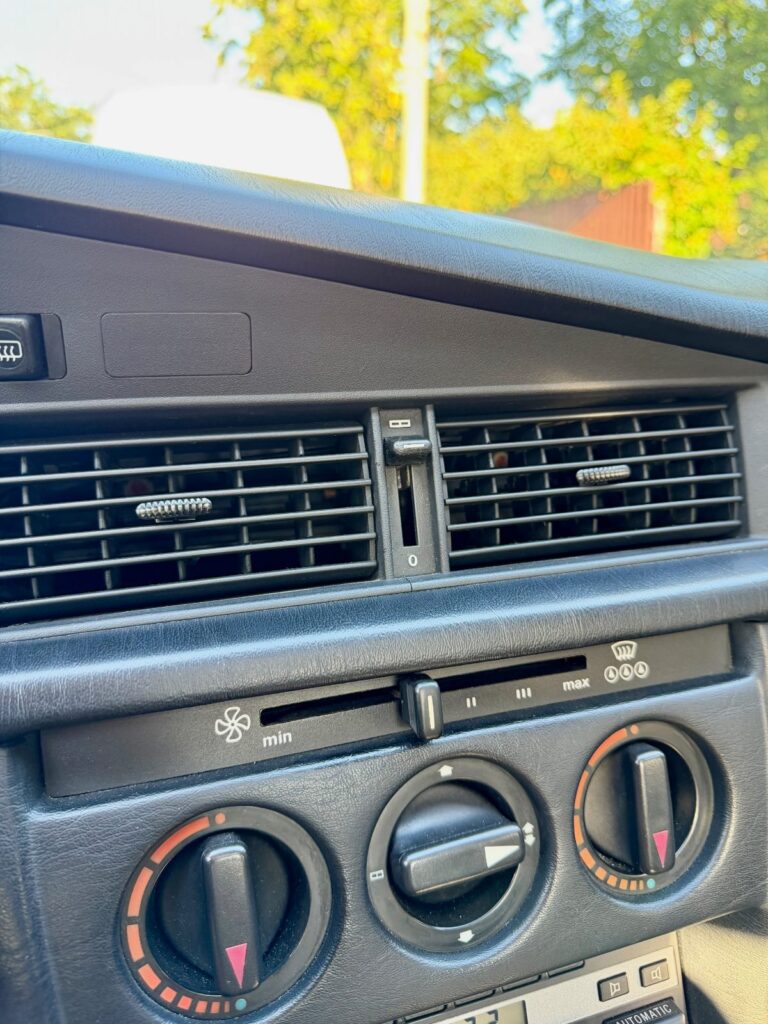
The vent button that changes the airflow direction on a classic Mercedes-Benz is no longer made. We measured the old part, built a CAD model (reverse engineering) and printed it in resin. For the same car we also made the logo covers for the floor mats.
We chose SLA because the layer lines are invisible from a short distance, so the parts needed no finishing.
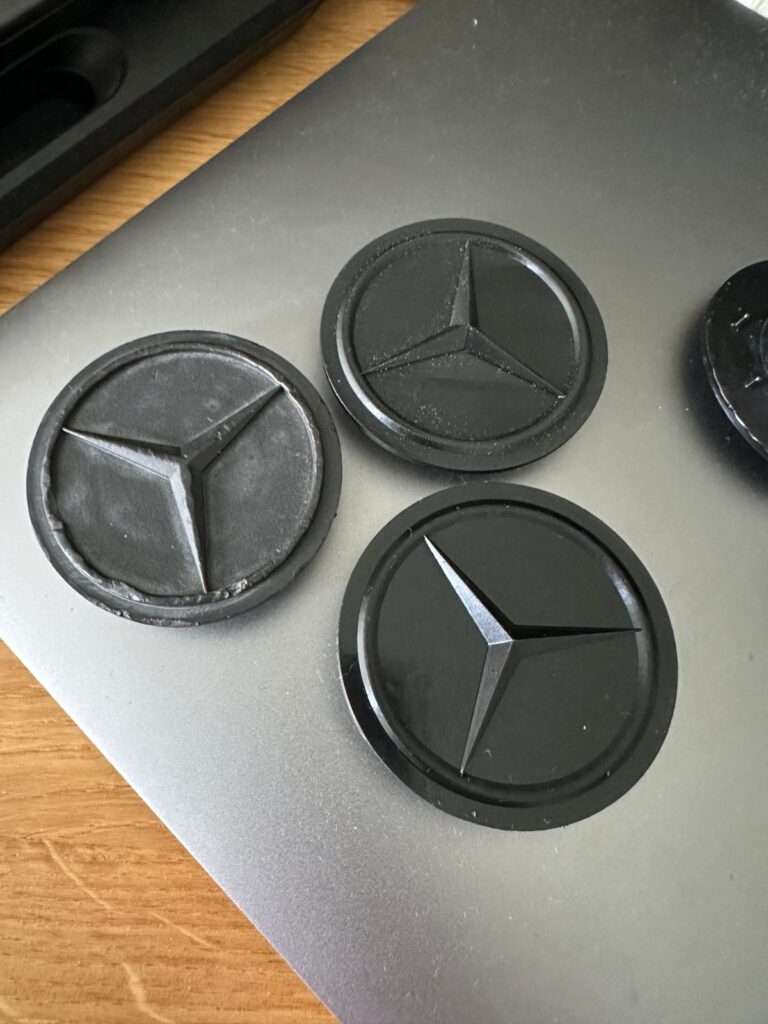
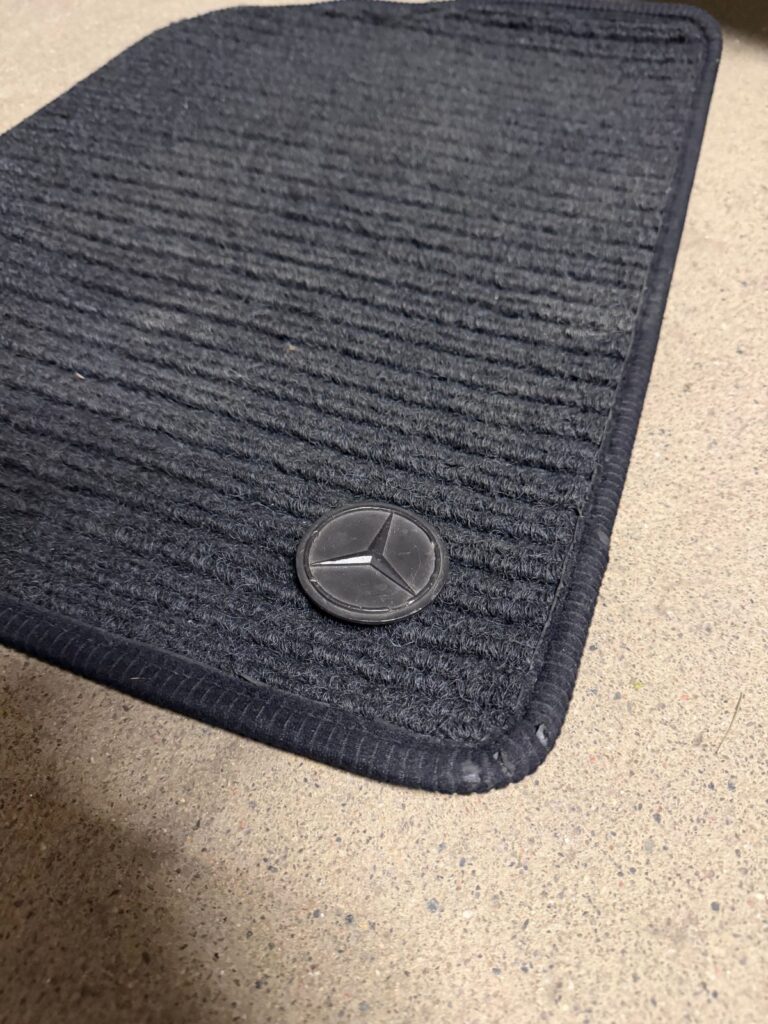
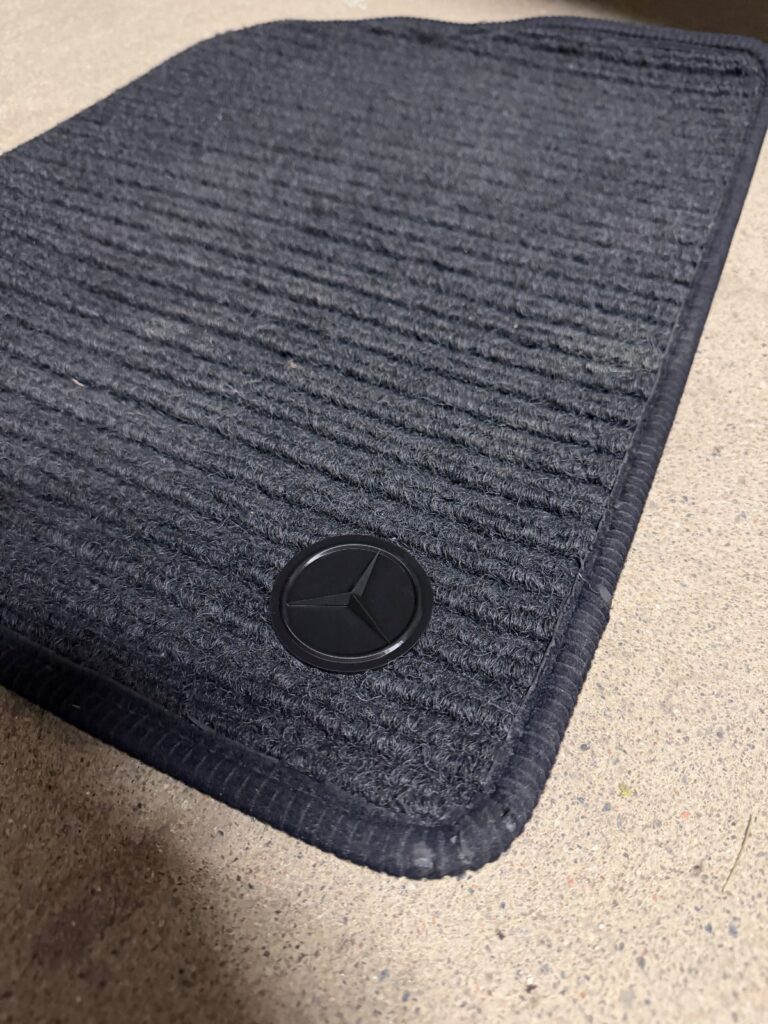
The old and the new resin-printed logo cover on the floor mat.
Figures to showcase a video game
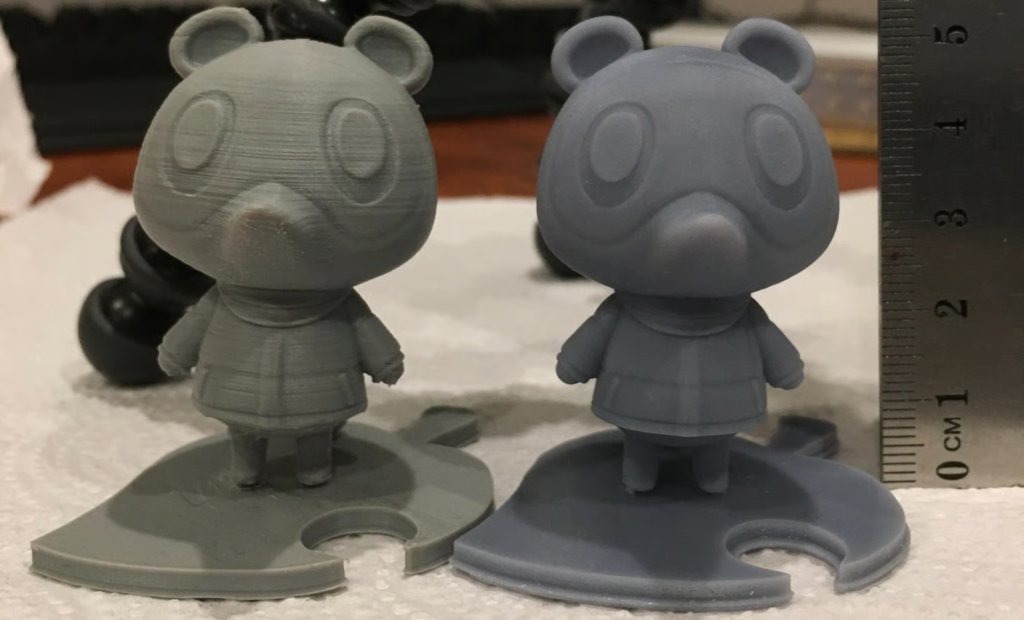
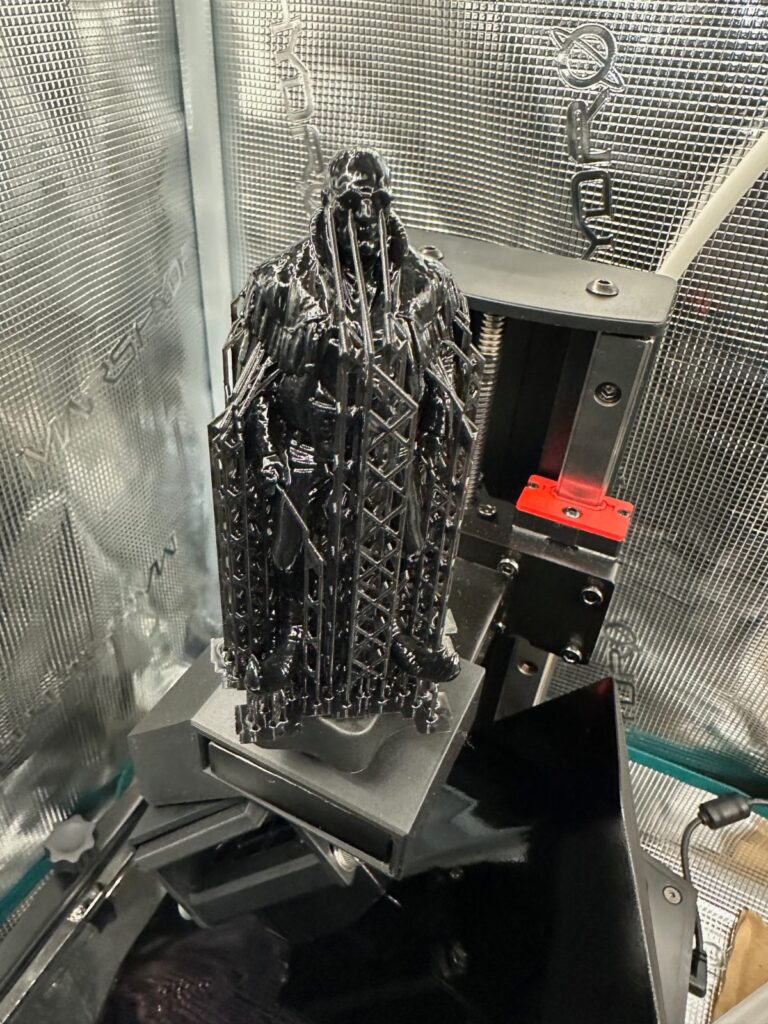
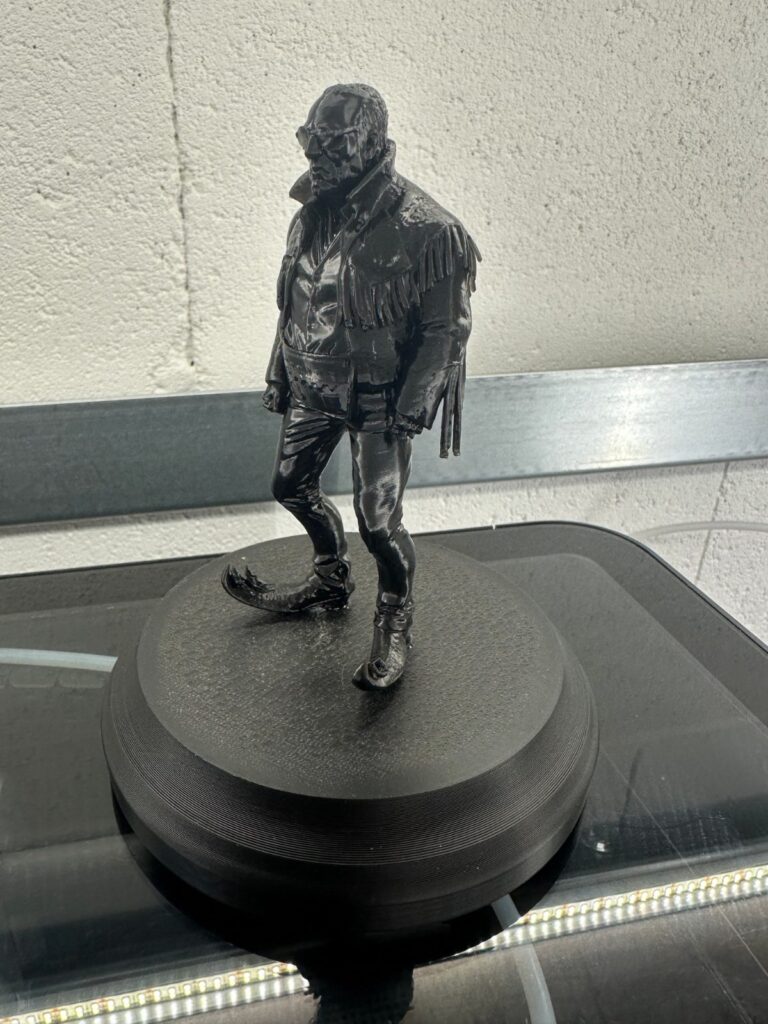
A game developer needed figures of the game characters to showcase the game. We printed the figures in resin, because fine details like fringes, glasses and facial features come out well with SLA.
The base was printed with FDM, as it is larger and simpler in shape. One product, two methods, each used where it works best.
Cockpit panel mock-ups for an aircraft
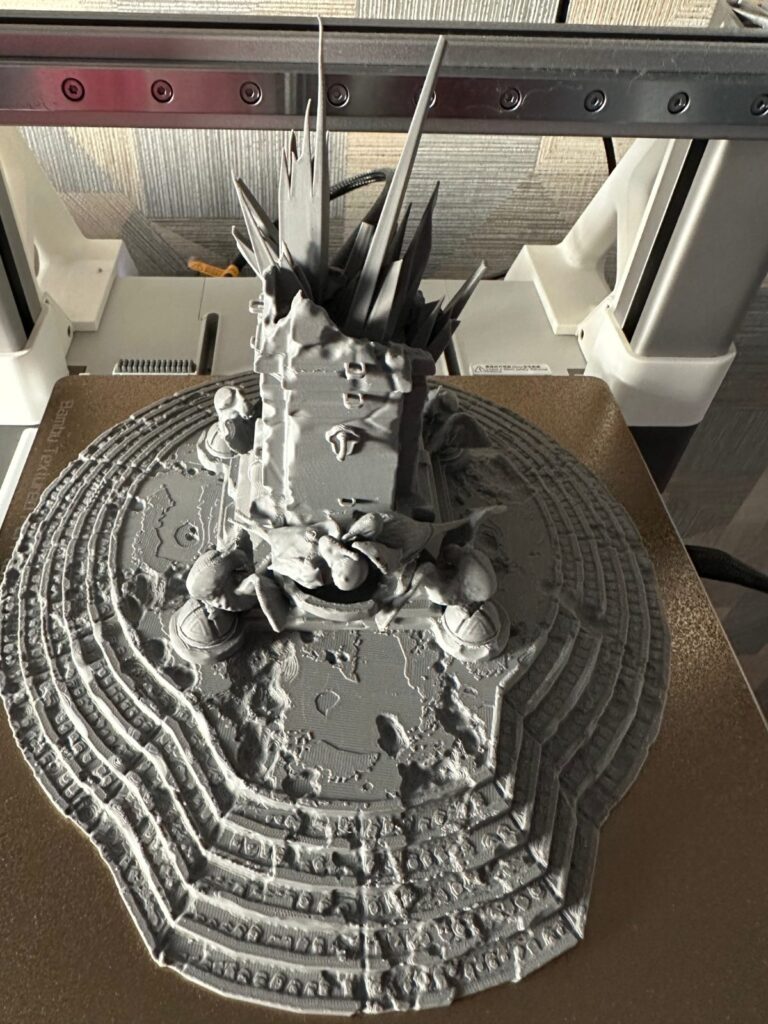
For an aircraft rebuild, the client had 3D models of all the equipment going into the cockpit panel. Before final assembly they wanted to check the fit and plan the cable routing. We printed the full set of equipment as mock-ups. It was much cheaper and faster than any other method.
We also print a lot of enclosures for electronics, such as PCBs and Raspberry Pi boards. FDM works for almost anything: a one-off tool, a prototype to check a shape or size, or simply a drawer organiser.
Common mistakes
PLA in a warm place
PLA starts to soften at around 55–60 °C. For a car dashboard or direct sunlight, choose PETG or ASA.
SLA for a loaded part
A resin part is precise and looks great, but it is brittle. Clips and brackets are better printed in FDM.
Tolerances that are too tight
With FDM we usually work to ±0.25 mm. If the part must fit another part, we adjust the CAD model.
Not sure which one fits?
Send us a 3D file, a drawing or even a photo, and tell us where the part will be used and how many you need. We will recommend the method and material and send you a free quote.
Founder and engineer at Integra3D. Works in industrial manufacturing day to day: sheet metal, CNC machining and surface treatment. At Integra3D he helps clients choose the right method, material and design.